
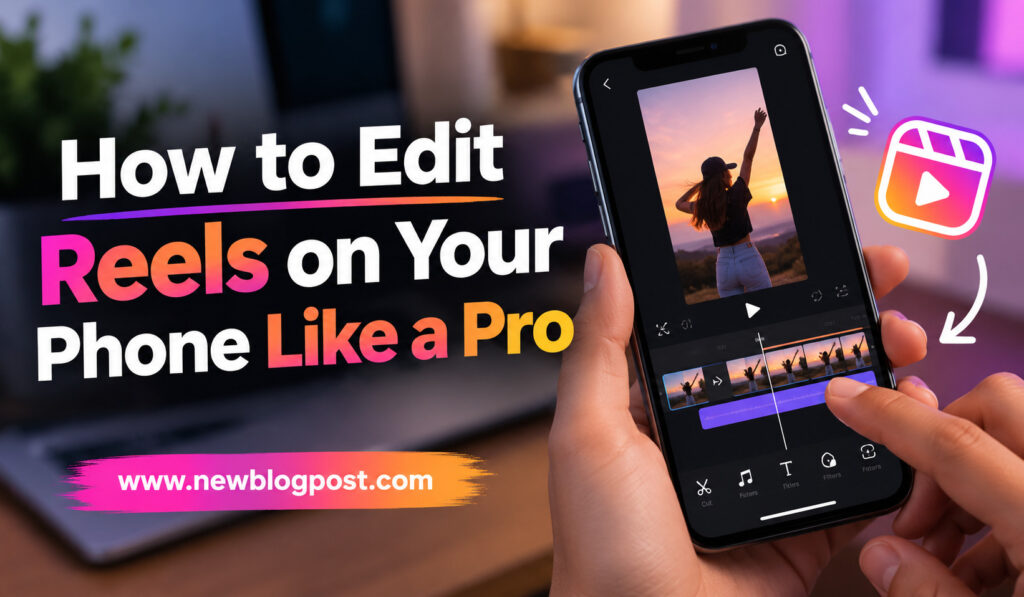

Creating professional-looking Instagram Reels does not require a computer or expensive editing software. With a smartphone and the right editing app, you can trim clips, add captions, adjust colors, sync music, and create smooth transitions directly from your phone.
The key is not using every editing feature available. Professional Reels usually come from clean cuts, good pacing, clear audio, consistent visuals, and thoughtful use of effects. Once you develop a simple editing workflow, creating polished Reels becomes much faster.
Start With the Correct Reel Format
Before importing your footage, set your project to a vertical 9:16 format. A resolution of 1080 × 1920 pixels is a practical choice for Instagram Reels and allows the video to fill the phone screen properly.
Starting with the correct format also makes it easier to position captions, graphics, and other elements without having to resize everything later.
Keep Important Elements Visible
Instagram’s interface covers portions of the Reel, especially around the top and bottom of the screen. Keep faces, product details, logos, and important text away from these areas.
Always preview your finished video on your phone before uploading it. This helps you catch captions or graphics that looked fine inside the editor but become difficult to see on the actual Instagram interface.
Select Your Best Footage First
Professional editing starts with choosing the right clips. Instead of putting every recording on your timeline, review your footage and keep only the clips that contribute to the story.
Look for clips with:
- Clear visuals and good lighting
- Useful action or information
- Stable framing
- Natural expressions or movement
Removing weak footage early makes the rest of the editing process much easier. A shorter, focused Reel often feels more polished than a longer video filled with unnecessary moments.
Create a Strong Opening
The first few seconds of a Reel should immediately give viewers a reason to continue watching. Avoid spending too much time on introductions, greetings, or slow opening shots.
Start with your strongest visual, an interesting statement, a result, or a question that creates curiosity. For a tutorial, you might show the finished result first. For a product Reel, show the product in use immediately.
Remove Pauses and Filler
After creating the rough cut, remove unnecessary pauses, repeated sentences, mistakes, and sections that do not move the story forward.
This does not mean every cut needs to be extremely fast. The goal is to maintain a comfortable rhythm while keeping the viewer interested.
Use the Timeline Effectively
Mobile editing timelines can look complicated, but you only need a few basic functions to produce strong results. Trimming removes unwanted portions, splitting lets you cut a clip into sections, and moving clips allows you to change their order.
Focus on how each edit improves the video rather than how many features you can use. A simple cut at the right moment can often look better than an elaborate transition.
Add B-Roll for More Visual Variety
It can make talking-head videos, tutorials, product demonstrations, and lifestyle content more interesting.
For example, if you are talking about a beauty product, show close-up footage of the product or application process while your voice continues. If you are discussing a travel destination, show the location instead of keeping the camera on your face throughout the entire explanation.
B-roll also helps hide jump cuts and gives viewers something new to look at without interrupting the story.
Add Captions and Text Carefully
Captions make Reels easier to follow, especially when people watch videos without sound. However, captions should remain simple and readable.
Choose a clear font and maintain a consistent style throughout the video. Avoid placing large blocks of text on screen because viewers may not have enough time to read everything.
Make Text Easy to Read
Use contrast between the text and background, and keep important words within the central viewing area. You can highlight keywords, but avoid excessive animations that make the captions difficult to follow.
Your text should support the video rather than compete with it.
Balance Music and Voice
Music can establish the mood of a Reel, but it should never overpower dialogue or narration. If you are speaking, lower the background music enough that every word remains easy to understand.
Sound effects can also add impact to specific moments, such as transitions, product reveals, or changes in speed.
Before exporting, listen to the complete Reel with headphones. Check for sudden volume changes, distracting background noise, or music that becomes too loud.
Use Effects and Transitions With Restraint
Too many effects can make a Reel look less professional. Instead of adding a different transition between every clip, use simple cuts whenever possible.
Zooms, speed changes, motion effects, and keyframes can be useful when they serve a purpose. For example, a subtle zoom can draw attention to a product detail, while a speed change can make a repetitive section more dynamic.
The best effect is often the one that viewers notice without being distracted by it.
Keep Your Colors Consistent
Clips recorded at different times may have different brightness or color tones. Adjust them so the Reel feels visually consistent.
You can make small changes to exposure, contrast, highlights, shadows, and saturation. Instead of applying heavy filters, aim for a natural look that keeps skin tones and important colors believable.
| Editing Area | Professional Approach | Avoid |
| Cuts | Keep the story moving | Long pauses |
| Captions | Use clear, consistent text | Overcrowded screens |
| Music | Keep it below dialogue | Excessive volume |
| Transitions | Use when useful | Transition overload |
| Color | Match clips together | Heavy filters |
| Effects | Keep them subtle | Constant animation |
Follow a Simple Mobile Editing Workflow
Having a repeatable process can save a lot of time. Rather than constantly switching between different tools, complete your editing in stages.
A simple workflow is:
- Import and organize your selected footage.
- Create the rough cut and remove unwanted sections.
- Add B-roll, captions, music, color adjustments, and effects.
- Watch the complete Reel and make final corrections before exporting.
This approach prevents you from spending time polishing clips that may eventually be removed.
Export Your Reel at Good Quality
Once the edit is complete, export the final video using settings suitable for vertical social media content. A 1080 × 1920 resolution with a 9:16 aspect ratio is a practical standard.
Try to avoid repeatedly exporting and re-importing the same video. Multiple compression cycles can gradually reduce sharpness and make text or fine details look softer.
Keep a high-quality master version of your finished Reel so you can reuse it for other platforms without starting from a compressed copy.
Common Mistakes to Avoid
Even with a good editing app, small mistakes can make a Reel look less polished. Avoid using too many filters, transitions, stickers, or animated effects simply because they are available.
Also avoid placing important text near the edges, keeping unnecessary footage, or allowing background music to overpower your voice.
Most importantly, do not edit only for the sake of making the video look busy. Every cut, effect, caption, and sound should have a reason.
Final Thoughts
Editing Reels on your phone can produce professional results when you focus on the fundamentals. Start with the right vertical format, choose strong footage, create an engaging opening, and remove anything that slows the video down.
From there, add B-roll, captions, music, color adjustments, and subtle effects that support your message. You do not need dozens of complicated effects to create an impressive Reel.
The more consistently you follow the same editing process, the faster you will become. With practice, your phone can become a complete content-production tool capable of creating polished Reels for personal brands, businesses, creators, and social media pages.
Frequently Asked Questions
1. Can I create professional Reels using only my phone?
Yes. Modern mobile editing apps provide trimming, captions, music, effects, color adjustments, transitions, and export controls. Good footage and a consistent editing workflow are more important than having expensive equipment.
2. What size should I use for Instagram Reels?
A 9:16 vertical format with 1080 × 1920 pixels is a practical choice for creating full-screen Instagram Reels.
3. How can I make my phone-edited Reel look professional?
Focus on clean cuts, good pacing, readable captions, balanced audio, consistent colors, and subtle effects. Avoid overcrowding the video with unnecessary transitions and animations.
4. Should I add transitions between every clip?
No. Simple cuts are often enough. Use transitions only when they improve the flow or help create a particular visual effect.
5. How can I maintain Reel quality after editing?
Use high-quality original footage, edit in a vertical project, export at an appropriate resolution, and avoid repeatedly exporting and re-importing the same video. Always upload the final high-quality version whenever possible.